Posts tagged 2
Meal Prep Friendly: Teriyaki Chickpeas with Sesame Broccoli + Rice
Photo by Amy Angelo

Photo by Amy Angelo

Friends! This might be my favorite EASY meal prep dinner! This dish literally comes together in less than 20 minutes hands on time, holds amazing (honestly I think it gets better with age), and is jam packed with nutrition — really a complete + satisfying meal.

Simply saute up some veggies, add cooked chickpeas, coconut aminos teriyaki sauce, let simmer and voila you have the perfect Chinese style take out dish to serve over rice and veggies.

I hope you enjoy this recipe!

Cheers,

katie :)


Yield: 3-4 servings

Teriyaki Chickpeas with Sesame Broccoli + Rice

  • 1 cup grain of choice (quinoa, rice, etc.…)

  • Oil of choice

  • 1 medium red onion, small dice

  • 2 medium carrots, small dice

  • 1 red bell pepper, small dice

  • 1 tablespoon freshly grated ginger

  • 2 (15 ounce) cans of chickpeas, drained + rinsed or 3 cups freshly cooked chickpeas

  • ¾ cup teriyaki coconut aminos or traditional coconut aminos

  • 1 teaspoon toasted sesame oil

  • 2 green onions, finely diced

  • 2 cups blanched broccoli florets, see tips below

  • Optional garnishes: shredded carrots, avocado, snap peas, toasted nuts, sesame seeds, Sriracha drizzle

  1. Cook grain according to package directions.

  2. Heat a medium pot over medium low heat. Once hot, cover the bottom of the pot with oil. Once oil is hot add onion. Sauté until onion is fragrant, about 5 minutes.

  3. Add carrots, bell pepper, and ginger, sauté for an additional 10 minutes or until vegetables start to soften.

  4. Add chickpeas and coconut aminos to pot. Simmer for 30 minutes or until most of the liquid is absorbed. Add toasted sesame oil and green onions. Remove from heat.

  5. Serve chickpeas over cooked grain, blanched broccoli, and desired garnishes.

Chef’s Tips:

Blanching Vegetables: An amazing technique to prep and cook vegetables that will last all week and keep their vibrant color. Add them to salads, stir-fries, or eat them as snacks. Broccoli, cauliflower, carrots, and green beans are all good choices for blanching.

HOW TO BLANCH:

  1. Clean and cut vegetables into desired size. Bring a pot of water large enough to accommodate the vegetables to boil.

  2. Prepare a large bowl with ice and water; set aside.

  3. Add vegetables to boiling water, cook until vegetables are to desired cooked level, I like 1-2 minutes for vegetables like broccoli as I like them to still be a little crunchy.

  4. Drain vegetables and add to ice bath, which will stop the vegetables from continuing to cook and will keep their vibrant color.

  5. After a few minutes in the ice bath, drain and place in Tupperware containers until ready to enjoy.

Photo by Amy Angelo

Photo by Amy Angelo

Katie Farina2Comment
Grain Free Buffalo Cauliflower Wings
Photo by Amy Angelo

Photo by Amy Angelo

Ok so not gonna lie, we eat buffalo cauliflower in our house at least 2 times a week! It’s just both our favorite meal! Even after years, it never seems to get old, and we always fight over the last piece. I wanted to lighten up the traditional buffalo cauliflower and make it into something that you could enjoy regularly and was also ridiculously healthy.

This recipe is so simple! We’re only really battering the cauliflower, baking it (instead of frying) and tossing it in buffalo sauce. You CAN NOT miss dipping it in our herbed ranch dressing too — I could eat this with a spoon it’s so delicious.

Instead of regular flour or even gluten-free flour we’re making it even healthier by using cassava flour — which is made from the root vegetable cassava (also sometimes called yucca). This works great to keep the recipe crunchy, grain-free, and clean eating any time eating approved.

I hope this recipe is loved by your family like it is by mine!

cheers,

katie :)


Yield: 4 servings as an appetizer

Grain Free Buffalo Cauliflower Wings

• 1 medium head of cauliflower, cut into medium sized florets
• Spray oil, like coconut or avocado
• 3/4 cup cassava flour, Otto’s Brand recommended — other brands will not work in this recipe
• 1 1/4 cups water
• Big pinch of salt
• Buffalo sauce of choice, I like Frank’s
• Herbed Yogurt Ranch — see BBQ Jackfruit slider blog post for recipe

  1. Pre-heat the oven to 425. Line a large baking sheet with parchment paper. Spray the parchment paper lightly with oil.

  2. In a large bowl whisk together cassava flour, water, and a big pinch of salt. If the batter is too thick add an additional 1-2 tablespoons water, or until a slightly thick batter is reached — I find this can vary based on the cassava flour batch.

  3. Dip prepared cauliflower florets into batter, gently shaking to get rid of any excess batter. Place onto prepared baking sheet. Finish with remaining florets. Lightly mist the tops of the cauliflower with spray oil.

  4. Bake for 40 minutes, flip and bake for another 20 minutes. Remove from oven and toss with buffalo sauce. Serve with herbed yogurt ranch for dipping (see “BBQ Jackfruit Sliders for the ranch recipe)

MEAL PREP TIP:

Theses cauliflower wings hold up AMAZING! Just bake as usual and for any wings you would like to save for another meal, simply store in a Tupperware container (with out sauce) and refrigerate until ready to enjoy. To re-heat bake at 350 on a parchment lined baking sheet for about 10 minutes and then toss in your desired sauce (Buffalo, BBQ, Terriyaki, etc. . . .) and dip into ranch, which keeps at least 3-4 days.

Photo by Amy Angelo

Photo by Amy Angelo

Katie Farina2Comment
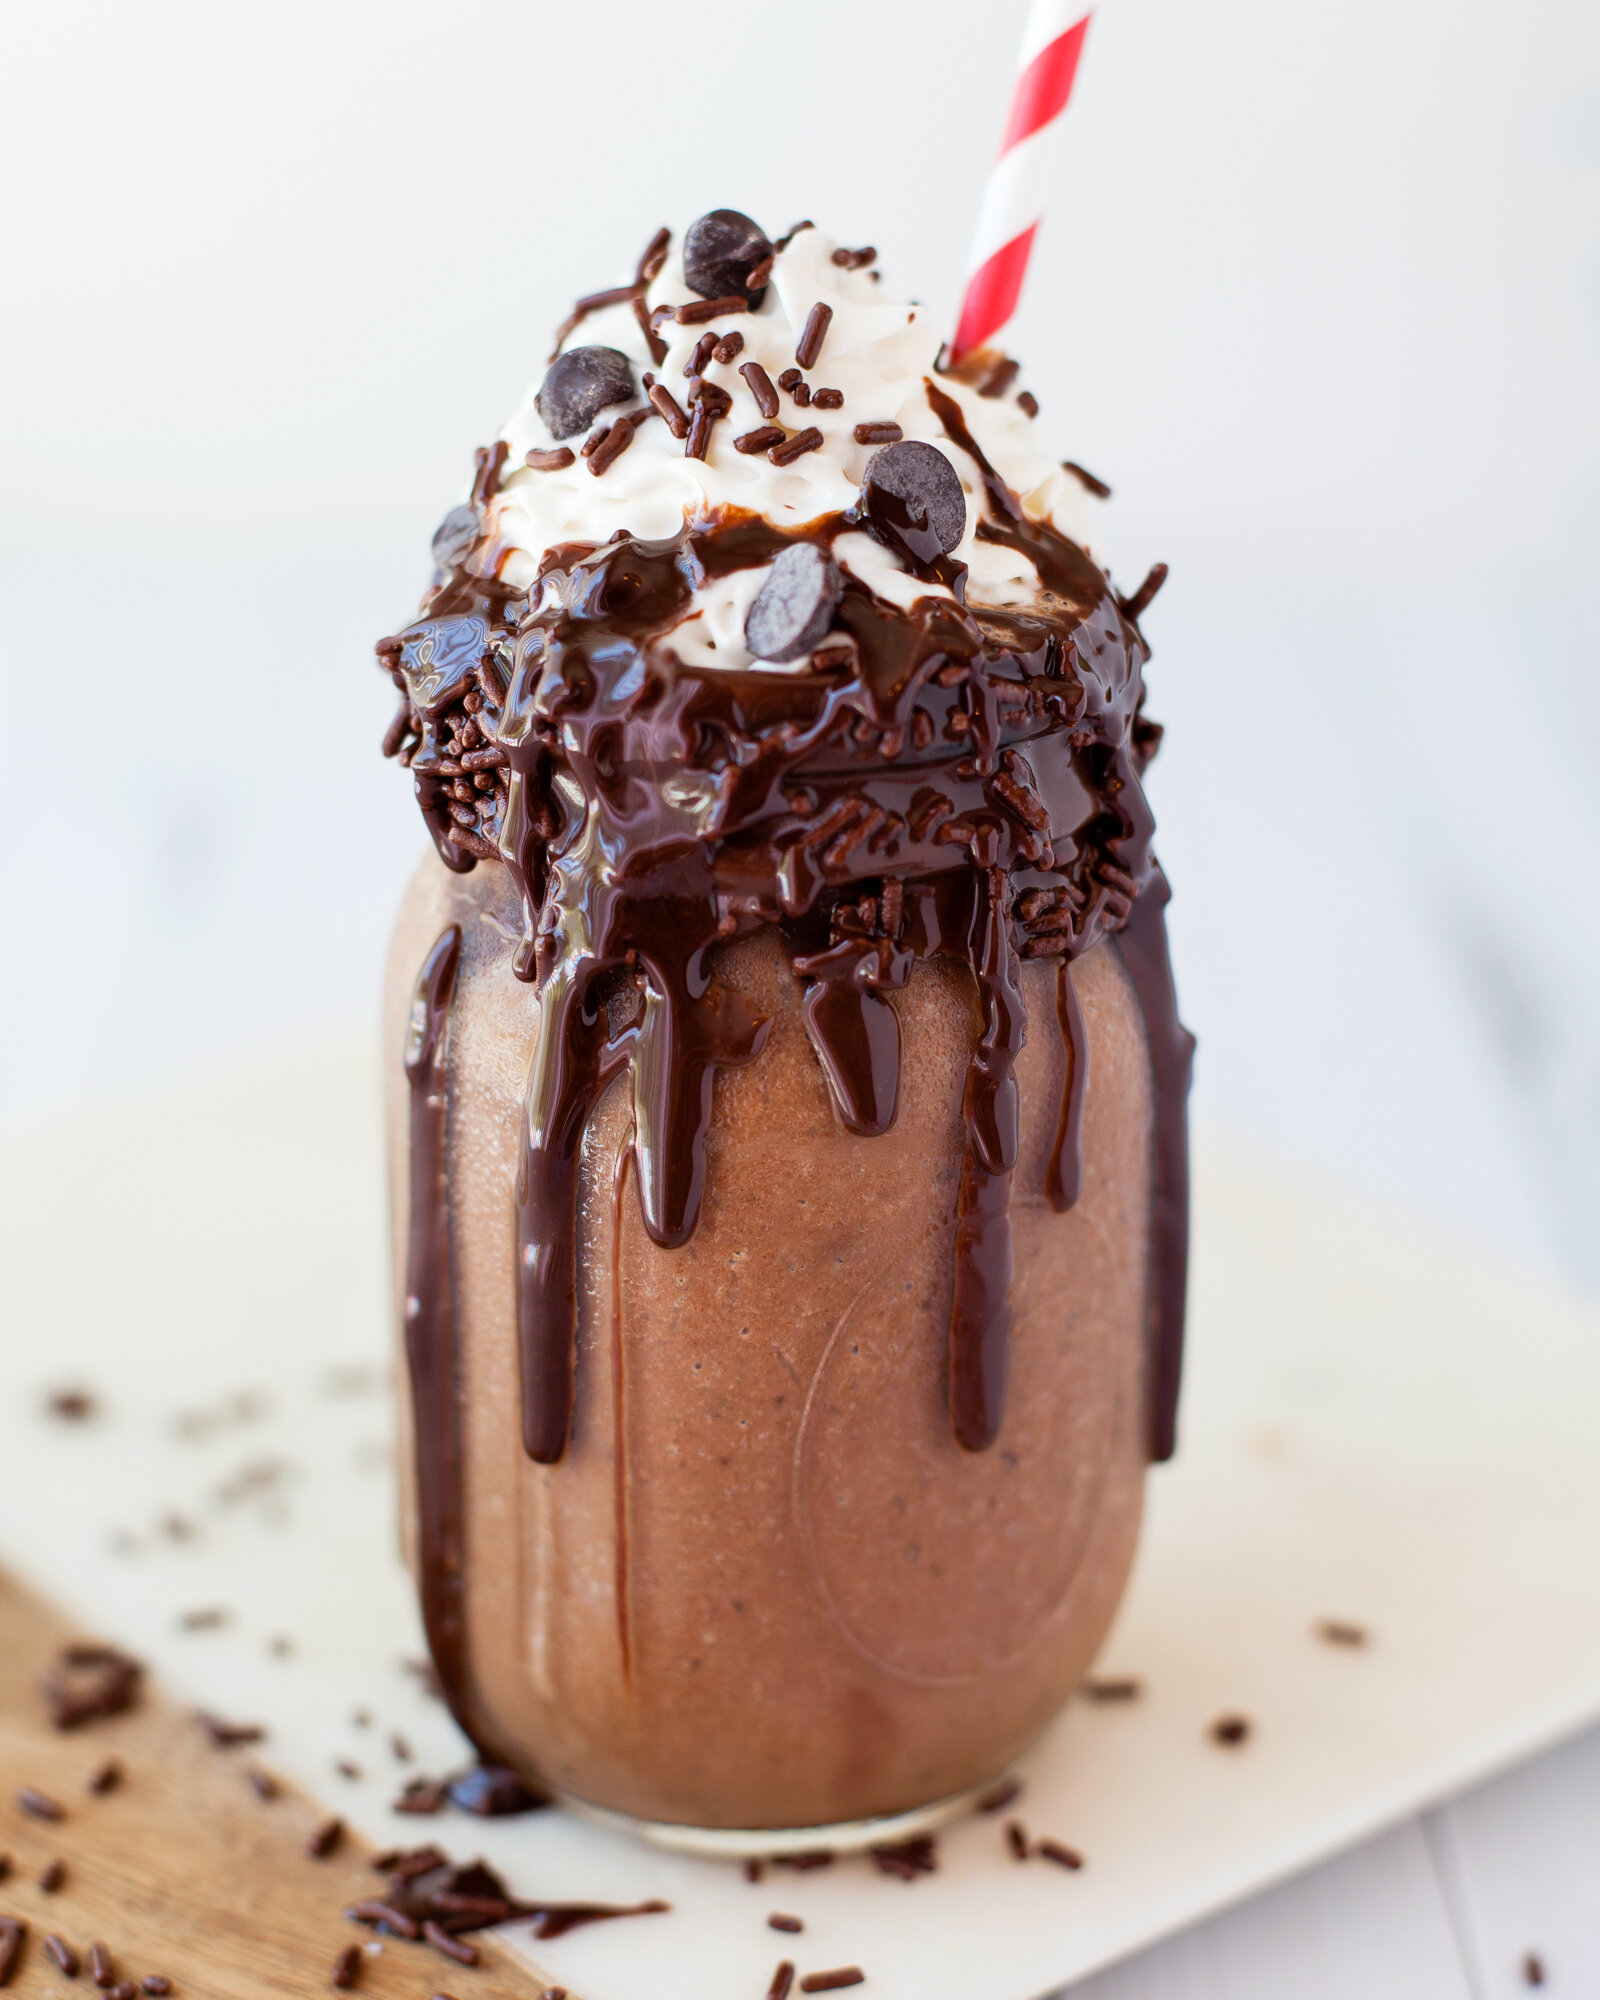
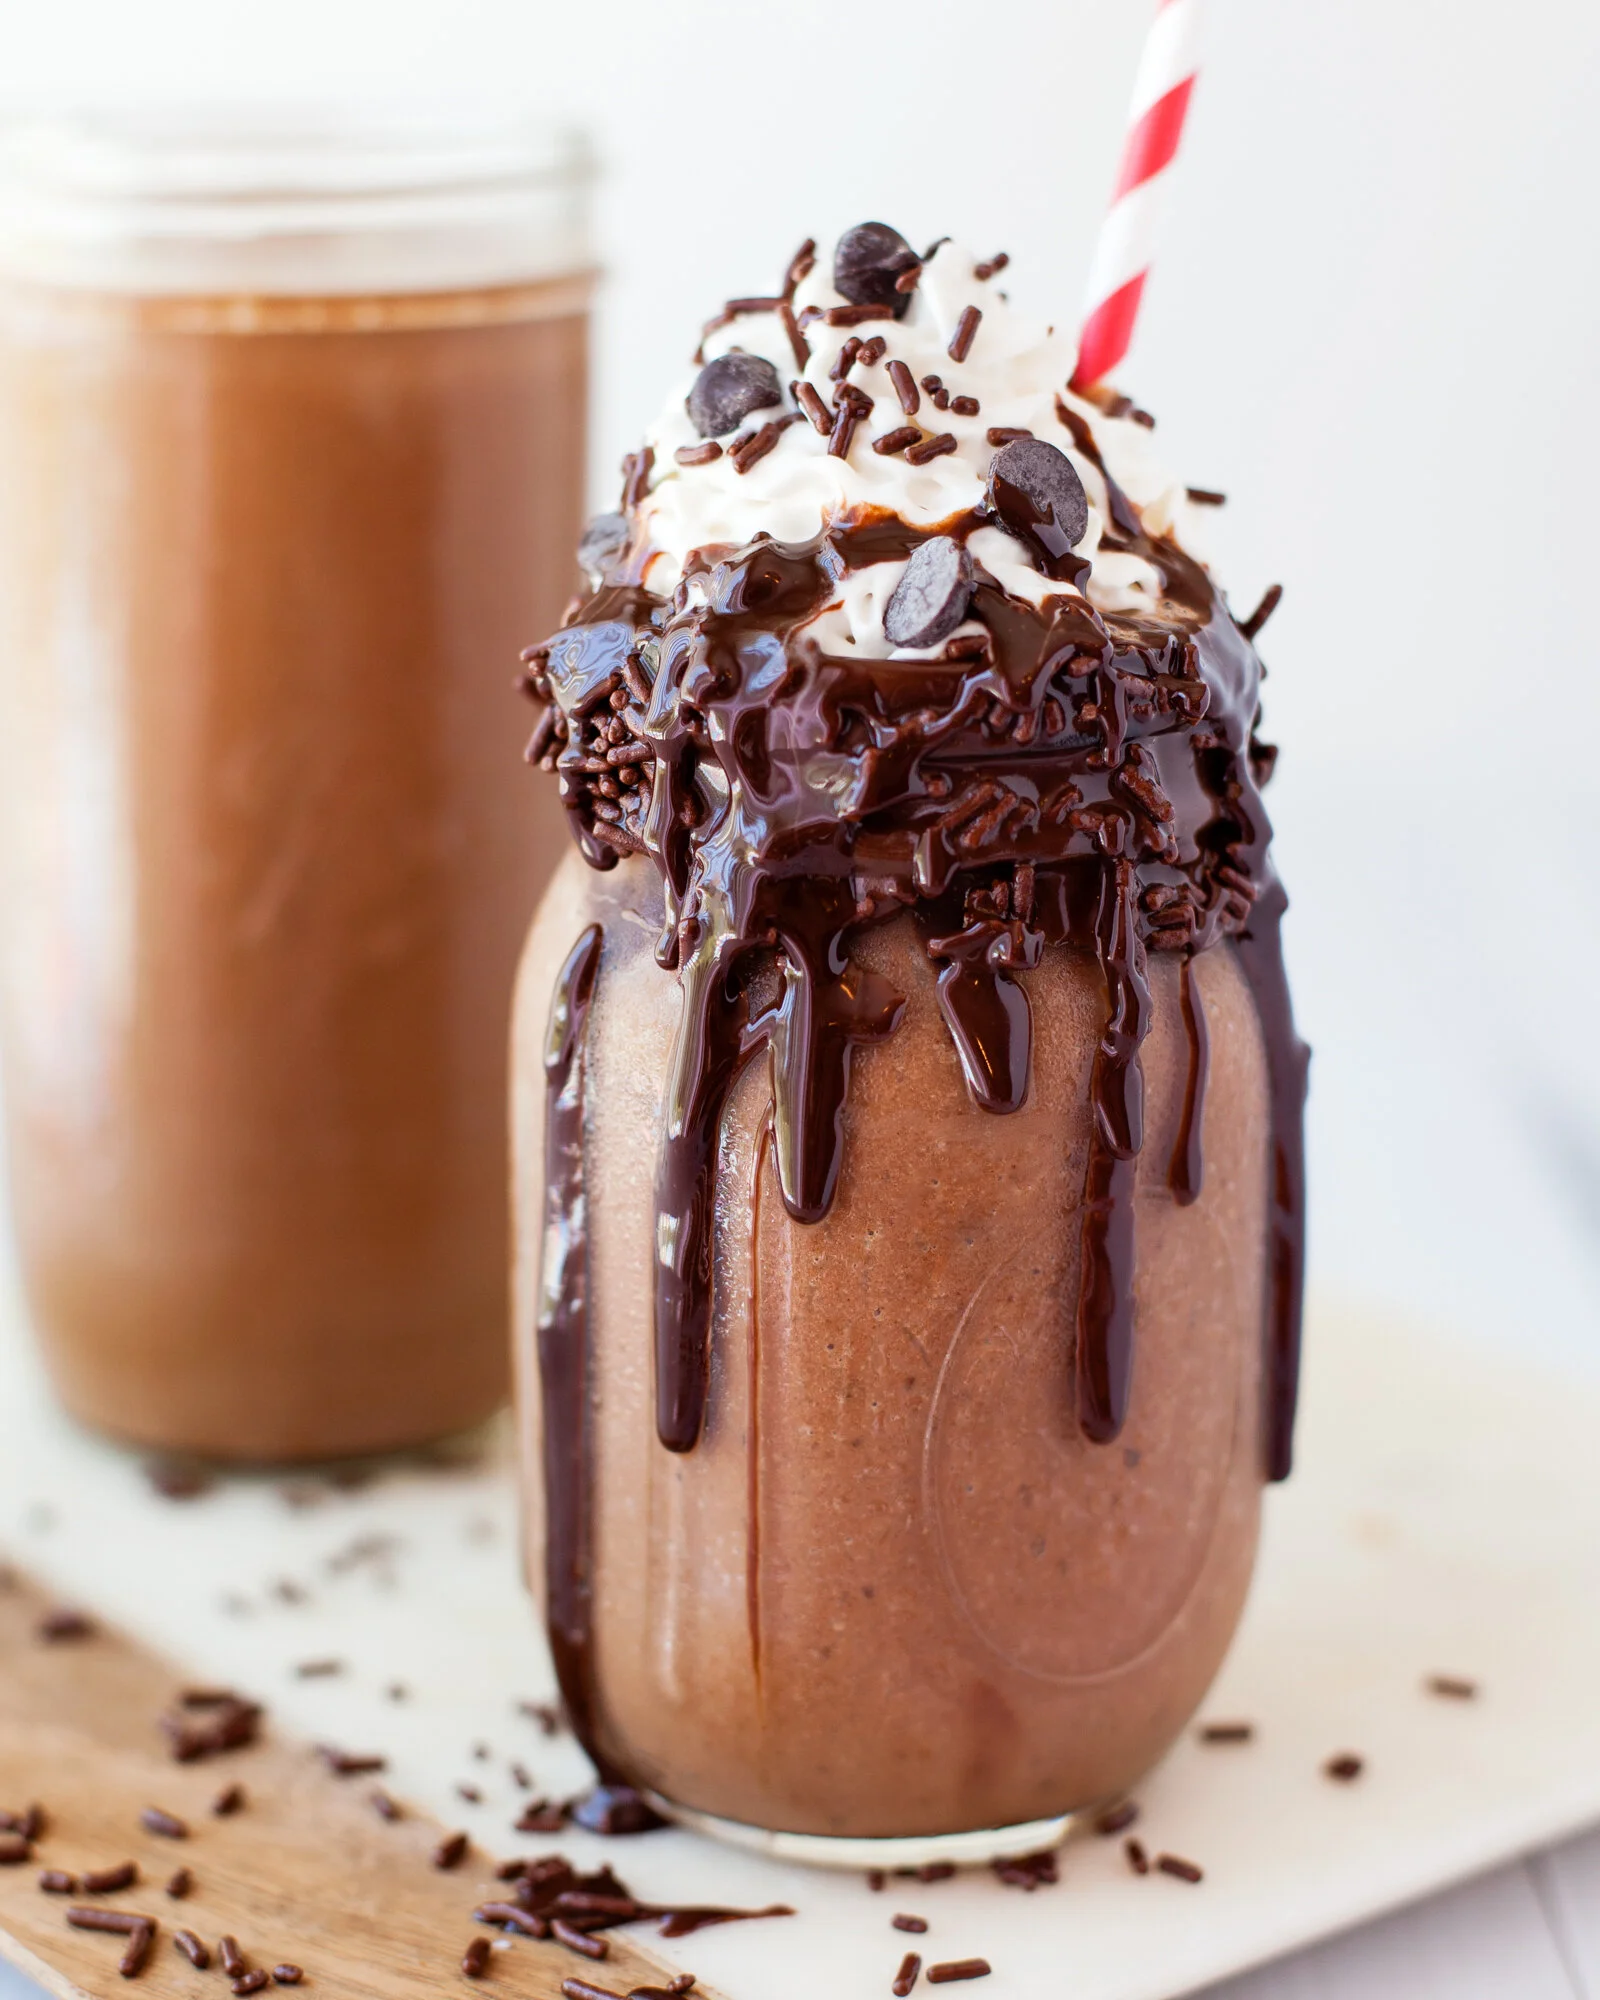
Clean Eating Brownie Batter Milkshake
Photo by Amy Angelo

Photo by Amy Angelo

Do you remember those out of control loaded milkshakes from your childhood?!? I dream of those and constantly CRAVE a creamy dreamy milkshake. The one big problem is of course those totally loaded milkshakes are crazy unhealthy and loaded with empty calories … and trust me you can’t just have a sip, you have to have the whole thing! Well enter our clean eating version of your favorite chocolate milkshake, made totally healthy, so healthy in fact you could have it for breakfast! I love it as an afternoon treat though!

We start off with any kind of carton non-dairy milk (like almond, coconut, or cashew), plus a little canned coconut milk for extra creaminess. Then adding a little chocolate protein powder (make sure you like the taste of the protein powder), cacao powder, pitted medjool dates, maple syrup, nut butter, and ice and voila your childhood milkshake dreams come true!

Cheers,

katie :)


Yield: 1 Big Serving

Clean Eating Brownie Batter Milkshake

• 3/4 cup non-dairy unsweetened milk of choice (almond, coconut, cashew)
• 1/4 cup canned coconut milk, or an additional 1/4 cup of non-dairy unsweetened milk of choice for a lighter frostie
• 1 tablespoon chocolate protein powder
• 2 tablespoons raw cacao powder
• 6 medjool dates, pitted, soaked in warm water for 20 minutes if hard
• 1 tablespoon maple syrup
• 1 tablespoon nut butter of choice, (peanut, almond, cashew), optional
• 2 cups ice

1. Combine all ingredients in a high-speed blender until completely blended. Adjust sweetness as desired. Enjoy immediately.

Photo by Amy Angelo

Photo by Amy Angelo

Katie Farina2Comment
Easy Sweet Potato Fries
Photo by Amy Angelo

Photo by Amy Angelo

Every week I usually make some kind of veggie burger or sandwich, whether that’s a fancy pants balsamic glazed portabello panini or store bought frozen veggie burger patties. No matter the handheld, fries are a must to go along with it. And these sweet potato fries don’t disappoint. It’s so simple to make, and you probably have all the ingredients on hand. Happy cooking my friends!

Cheers,

katie :)


Yield: 3 servings

Easy Sweet Potato Fries

  • 2 medium sweet potatoes, cut into even sized fries

  • High heat oil of choice, about 1-2 tablespoons

  • 2 teaspoons garlic powder

  • 1 teaspoon salt, plus more to taste

1. Pre-heat oven to 425. Line a large baking sheet with parchment paper.
2. Toss sweet potatoes in enough oil to coat, mix in garlic powder and salt. Place on prepared baking sheet, being sure to evenly spread out so no fries are touching.
3. Bake for 40-50 minutes, turning every 15 minutes to prevent burning.

*** For a crispier fry feel free to toss the potatoes with about 2 teaspoons of cornstarch or arrowroot starch before baking.

Clean Eating Nachos with Sweet Potato Queso
Photo by Amy Angelo Photography

Photo by Amy Angelo Photography

Celebrate Cinco De Mayo with our Clean Eating Nachos with Sweet Potato Queso!!! These nachos start with our delicious + super easy sweet potato cheese sauce, simply steam or boil sweet potatoes, blend with water, spices + lemon, that's it! Drizzled over your favorite chips, and topped with all the usual suspects: avocado, salsa, black beans, and vegan sour cream and you’re in for a real treat.

Finally nachos you can feel good about!

Cheers :)

katie


Yield: 5 Servings

Clean Eating Nachos with Sweet Potato Queso

  • 3 cups cubed orange sweet potatoes, with skin on

  • 1 cup water

  • 1/2 cup nutritional yeast

  • 2 cloves of garlic

  • Juice of half a lemon, or more to taste

  • 1 1/2 teaspoons of salt, or to taste

  • 1 large bag your choice of chips

  • Optional toppings: black beans, avocado/guacamole, salsa, vegan sour cream, cilantro, green onion, lime wedges

1. Steam or boil sweet potatoes until completely tender and soft, this takes about 20 minutes. Drain and place cooked sweet potatoes in a blender. Add water, nutritional yeast, garlic, lemon juice, and salt. Blend until completely smooth and warm, adjusting flavor as desired.
2. Place chips on a platter, drizzle with cheese sauce and garnish with desired toppings.

Chef’s Notes:

*** This cheese sauce holds well in the fridge, just store in a Tupperware container and when ready to enjoy gently warm over low heat.

Gluten-Free Banana Waffles with Cinnamon Butter
Photo by Amy Angelo

Photo by Amy Angelo

All your gluten-free waffle dreams come true with these beauties! These gorgeous golden brown waffles come together so easily and are amazing for meal prep. I often freeze them and re-heat them just like traditional toaster waffles — but much healthier + even more delicious! Make sure you top the waffles with copious amounts of cinnamon butter and fruit for the yummiest breakfast.


Yield: About 6 Waffles

Gluten-Free Banana Waffles with Cinnamon Butter

  • 2 ripe bananas, mashed

  • 1 ½ cups Bob’s Red Mill Gluten-Free 1-to-1 Baking Flour (in the blue bag)

  • 2 tablespoons coconut flour

  • 1 tablespoon coconut sugar

  • 1 tablespoon baking powder

  • ½ teaspoon baking soda

  • Big pinch of salt

  • 1 ½ cups non-dairy milk, at room temperature

  • ¼ cup coconut oil, melted

  • 2 tablespoons chia seeds

  • Coconut spray oil

  • Optional Garnishes: Cinnamon butter (see recipe below), maple syrup, fresh fruit

  1. Pre-heat waffle iron to medium high heat – this is very important; the waffle iron needs to be at a higher temperature for the waffles to not stick together.

  2. In a small bowl mash together bananas using a fork until slightly pureed.

  3. In a large bowl whisk together gluten-free flour, coconut flour, coconut sugar, baking powder, baking soda, and salt.

  4. Add milk and coconut oil to flour mixture. Mix until nice batter is formed, add in reserved banana. Fold in chia seeds, let batter sit for 5 minutes for chia seeds to be absorbed slightly.

  5. Thoroughly spray waffle iron with coconut spray oil. Scoop about ¾ cup of  waffle mixture into pre-heated iron. Being sure not to overfill. Completely close waffle iron, essentially sealing.

  6. Cook until nicely golden brown, my waffle maker takes about 5 minutes per waffle. Gluten-free waffles can be tricky if your waffle iron says it’s done after a few minutes check it because it might need longer. Serve with desired toppings.

    *** Be sure to read Chef’s notes below for more preparation tips.

Cinnamon Butter

  • ¼ cup vegan butter, slightly softened (I like @miyokos)

  • 2 tablespoons coconut sugar

  • ½ teaspoon cinnamon

  • ¼ teaspoon salt

Mix together until a nice paste is formed, spread on waffles, pancakes, or any baked good.

  • Do not overfill waffle iron — only use about 3/4 cup of batter, if overfilled they will not cook properly.

  • If the waffle is coming apart when you open the waffle iron, be sure you’re giving it enough time to cook + that the waffle iron is completely shut when cooking.

  • Gluten-free waffles can be really tricky, for this recipe I don’t recommend making any flour substitutions.

Katie Farina2Comment
Turmeric Latte Chia Pudding with Butternut Squash
Photo by Amy Angelo

Photo by Amy Angelo

I love love love chia pudding, and this recipe might just be my favorite! We took all the beautiful flavors of turmeric latte and made it into an easy chia pudding. To make it even better we sneak in a serving of butternut squash, to make this dessert, more nutritious, but also thicker and more bright orange in color.

This recipe is so simple to put together, simply steam or boil butternut squash (which can be frozen — don’t be a hero) and blend that with beautiful healing spices, non-dairy milk, maple syrup, and vanilla. Then simply whisk in the chia seeds and let it sit in the refrigerator for a few hours to thicken + chill.

This makes a great dessert, but also a perfect breakfast. I like to portion it into mason jars to have breakfast meal prepped for the week.

Happy Cooking!

katie :)


Yield: 6 Servings

Turmeric Latte Chia Pudding

  • 1 cup peeled butternut squash, cubed, can be frozen

  • 1 cup non-dairy unsweetened milk of choice (almond, coconut, cashew)

  • 1x13.5 ounce can coconut milk (Thai Kitchen brand recommended, do not use Trader Joe’s brand)

  • 1/2 cup maple syrup

  • 2 teaspoon ground cinnamon

  • 2 teaspoons ground turmeric

  • Pinch black pepper

  • 1 teaspoon vanilla extract

  • 1/2 cup chia seeds

  1. Boil or steam butternut squash until completely soft, about 15 minutes.

  2. Combine cooked squash with remaining ingredients except chia seeds in a blender. Blend until completely smooth, about 1 minute.

  3. Pour liquid into a large bowl or tupperware container. Whisk in chia seeds. Store in the refrigerator for at least 4 hours before serving. Thoroughly whisk again before serving. 

Katie Farina2Comment